COREY FARR
handcrafted furniture
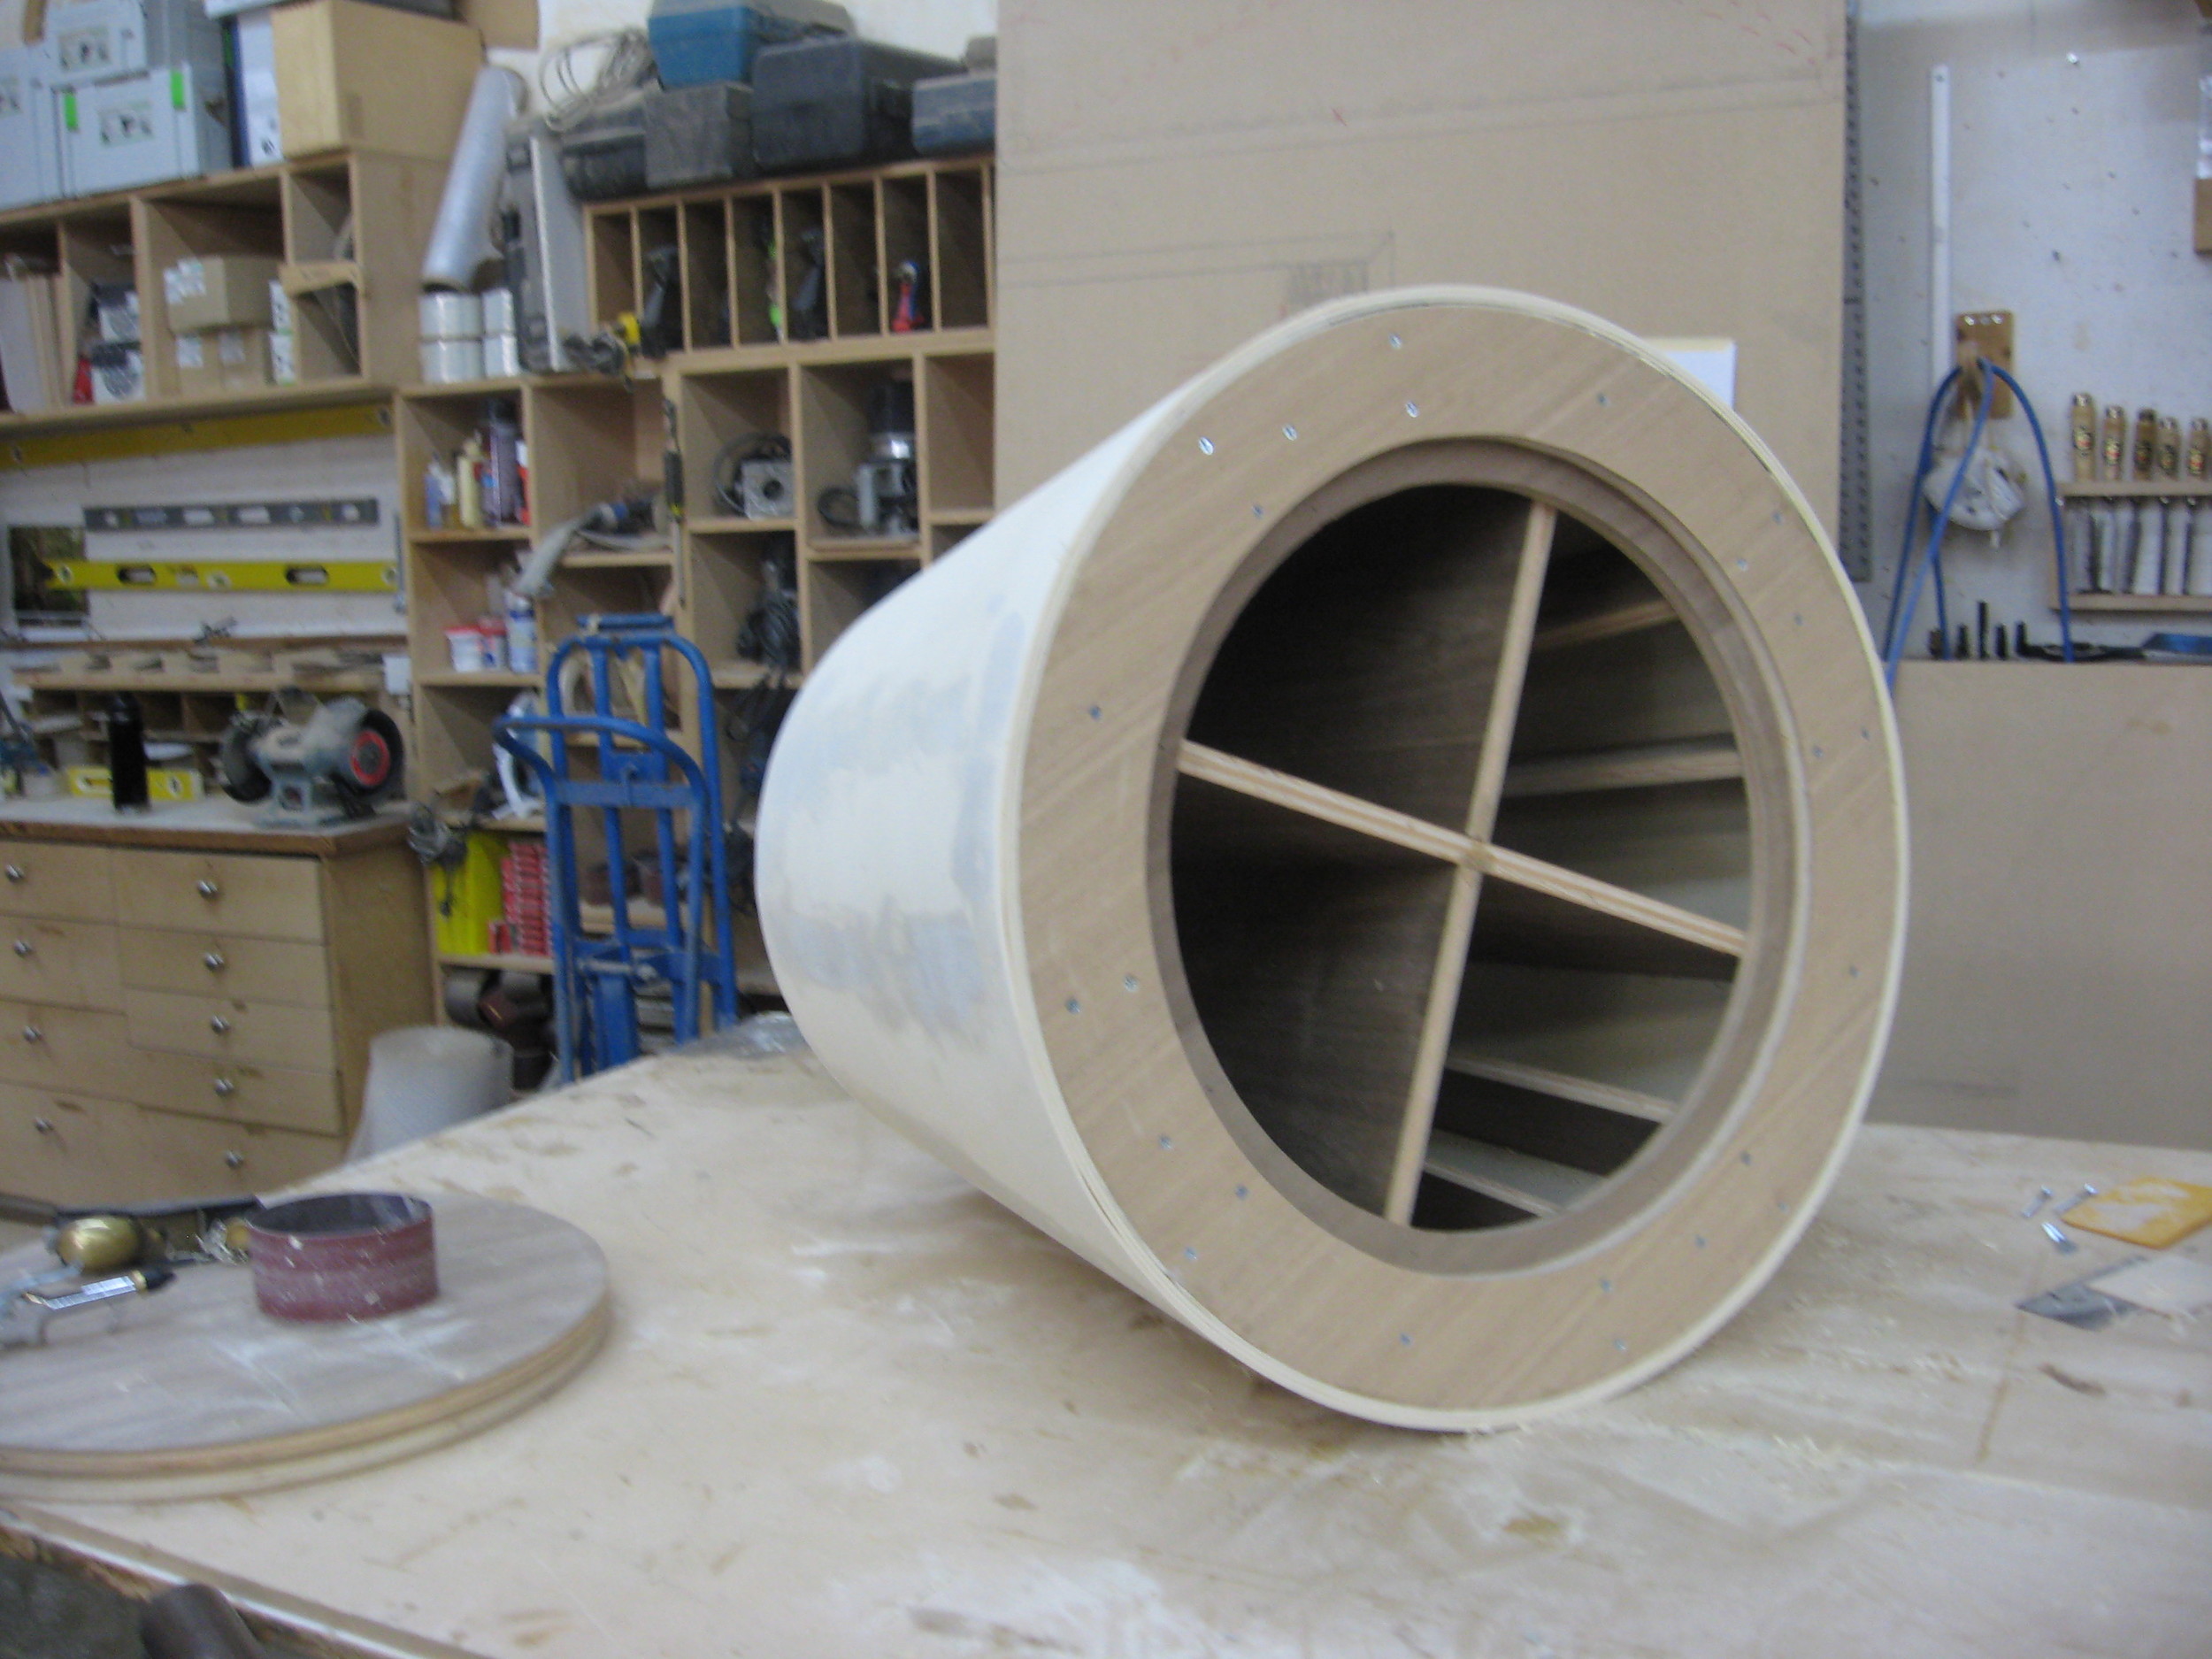
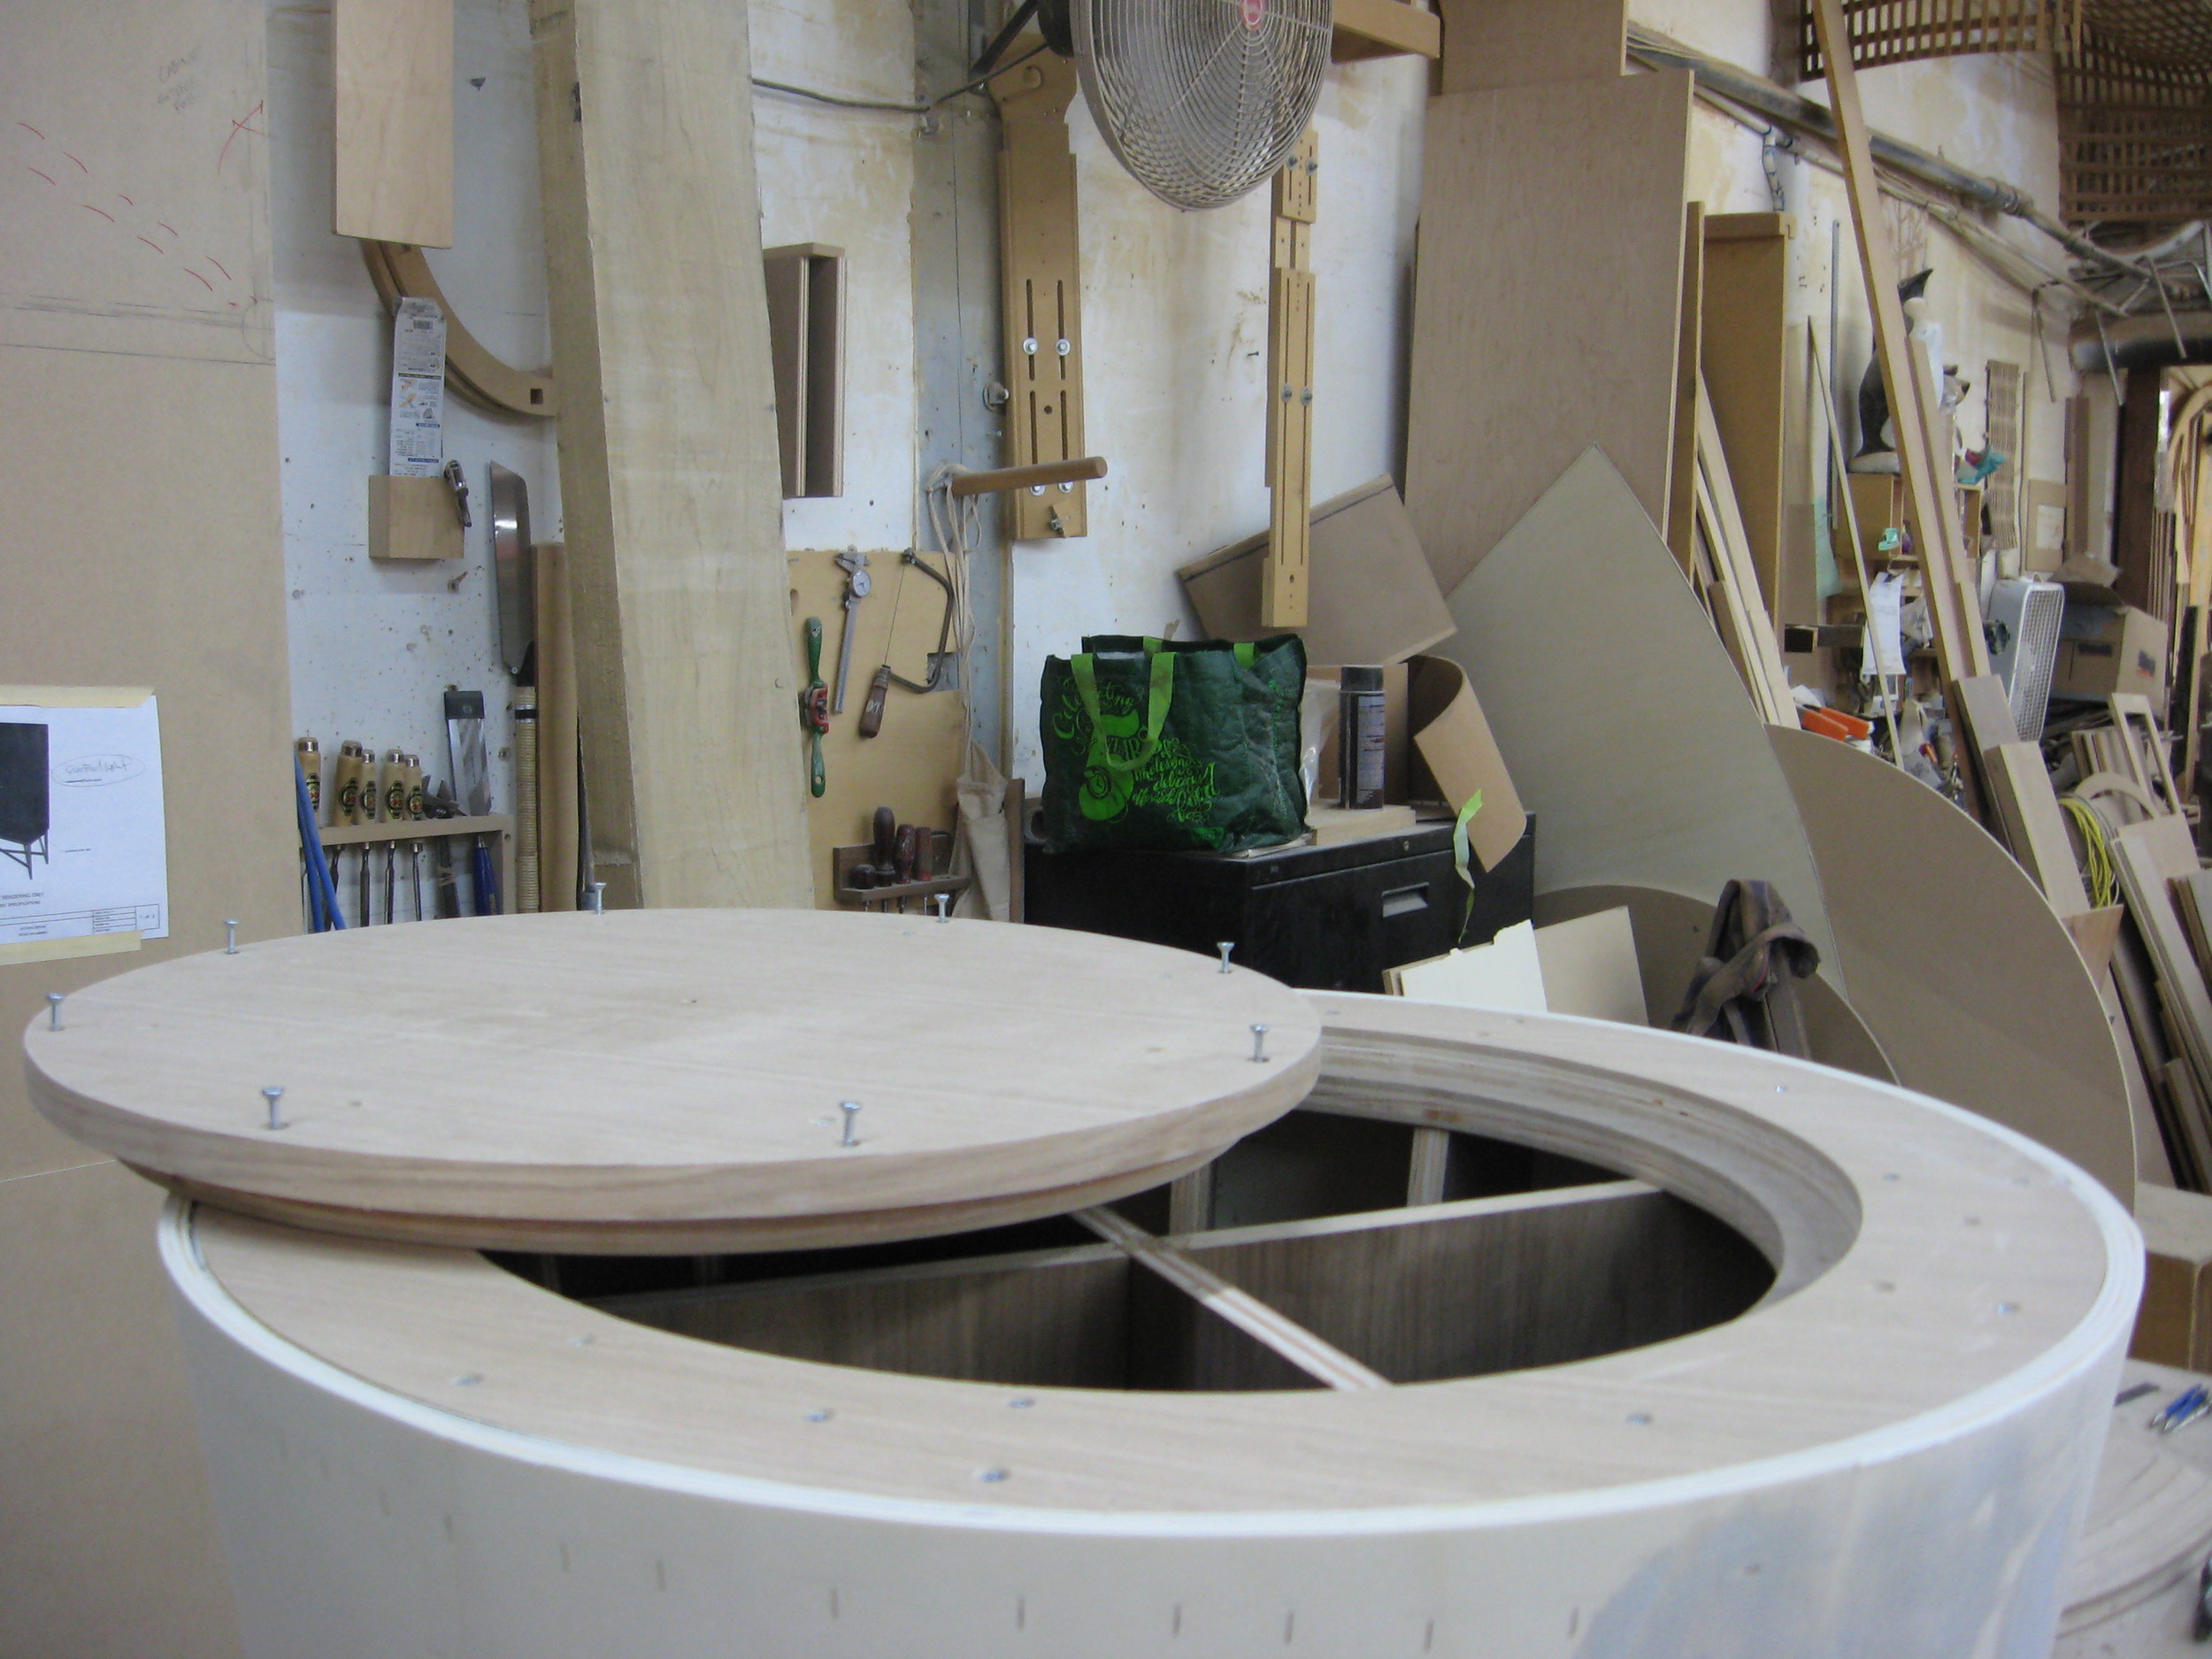
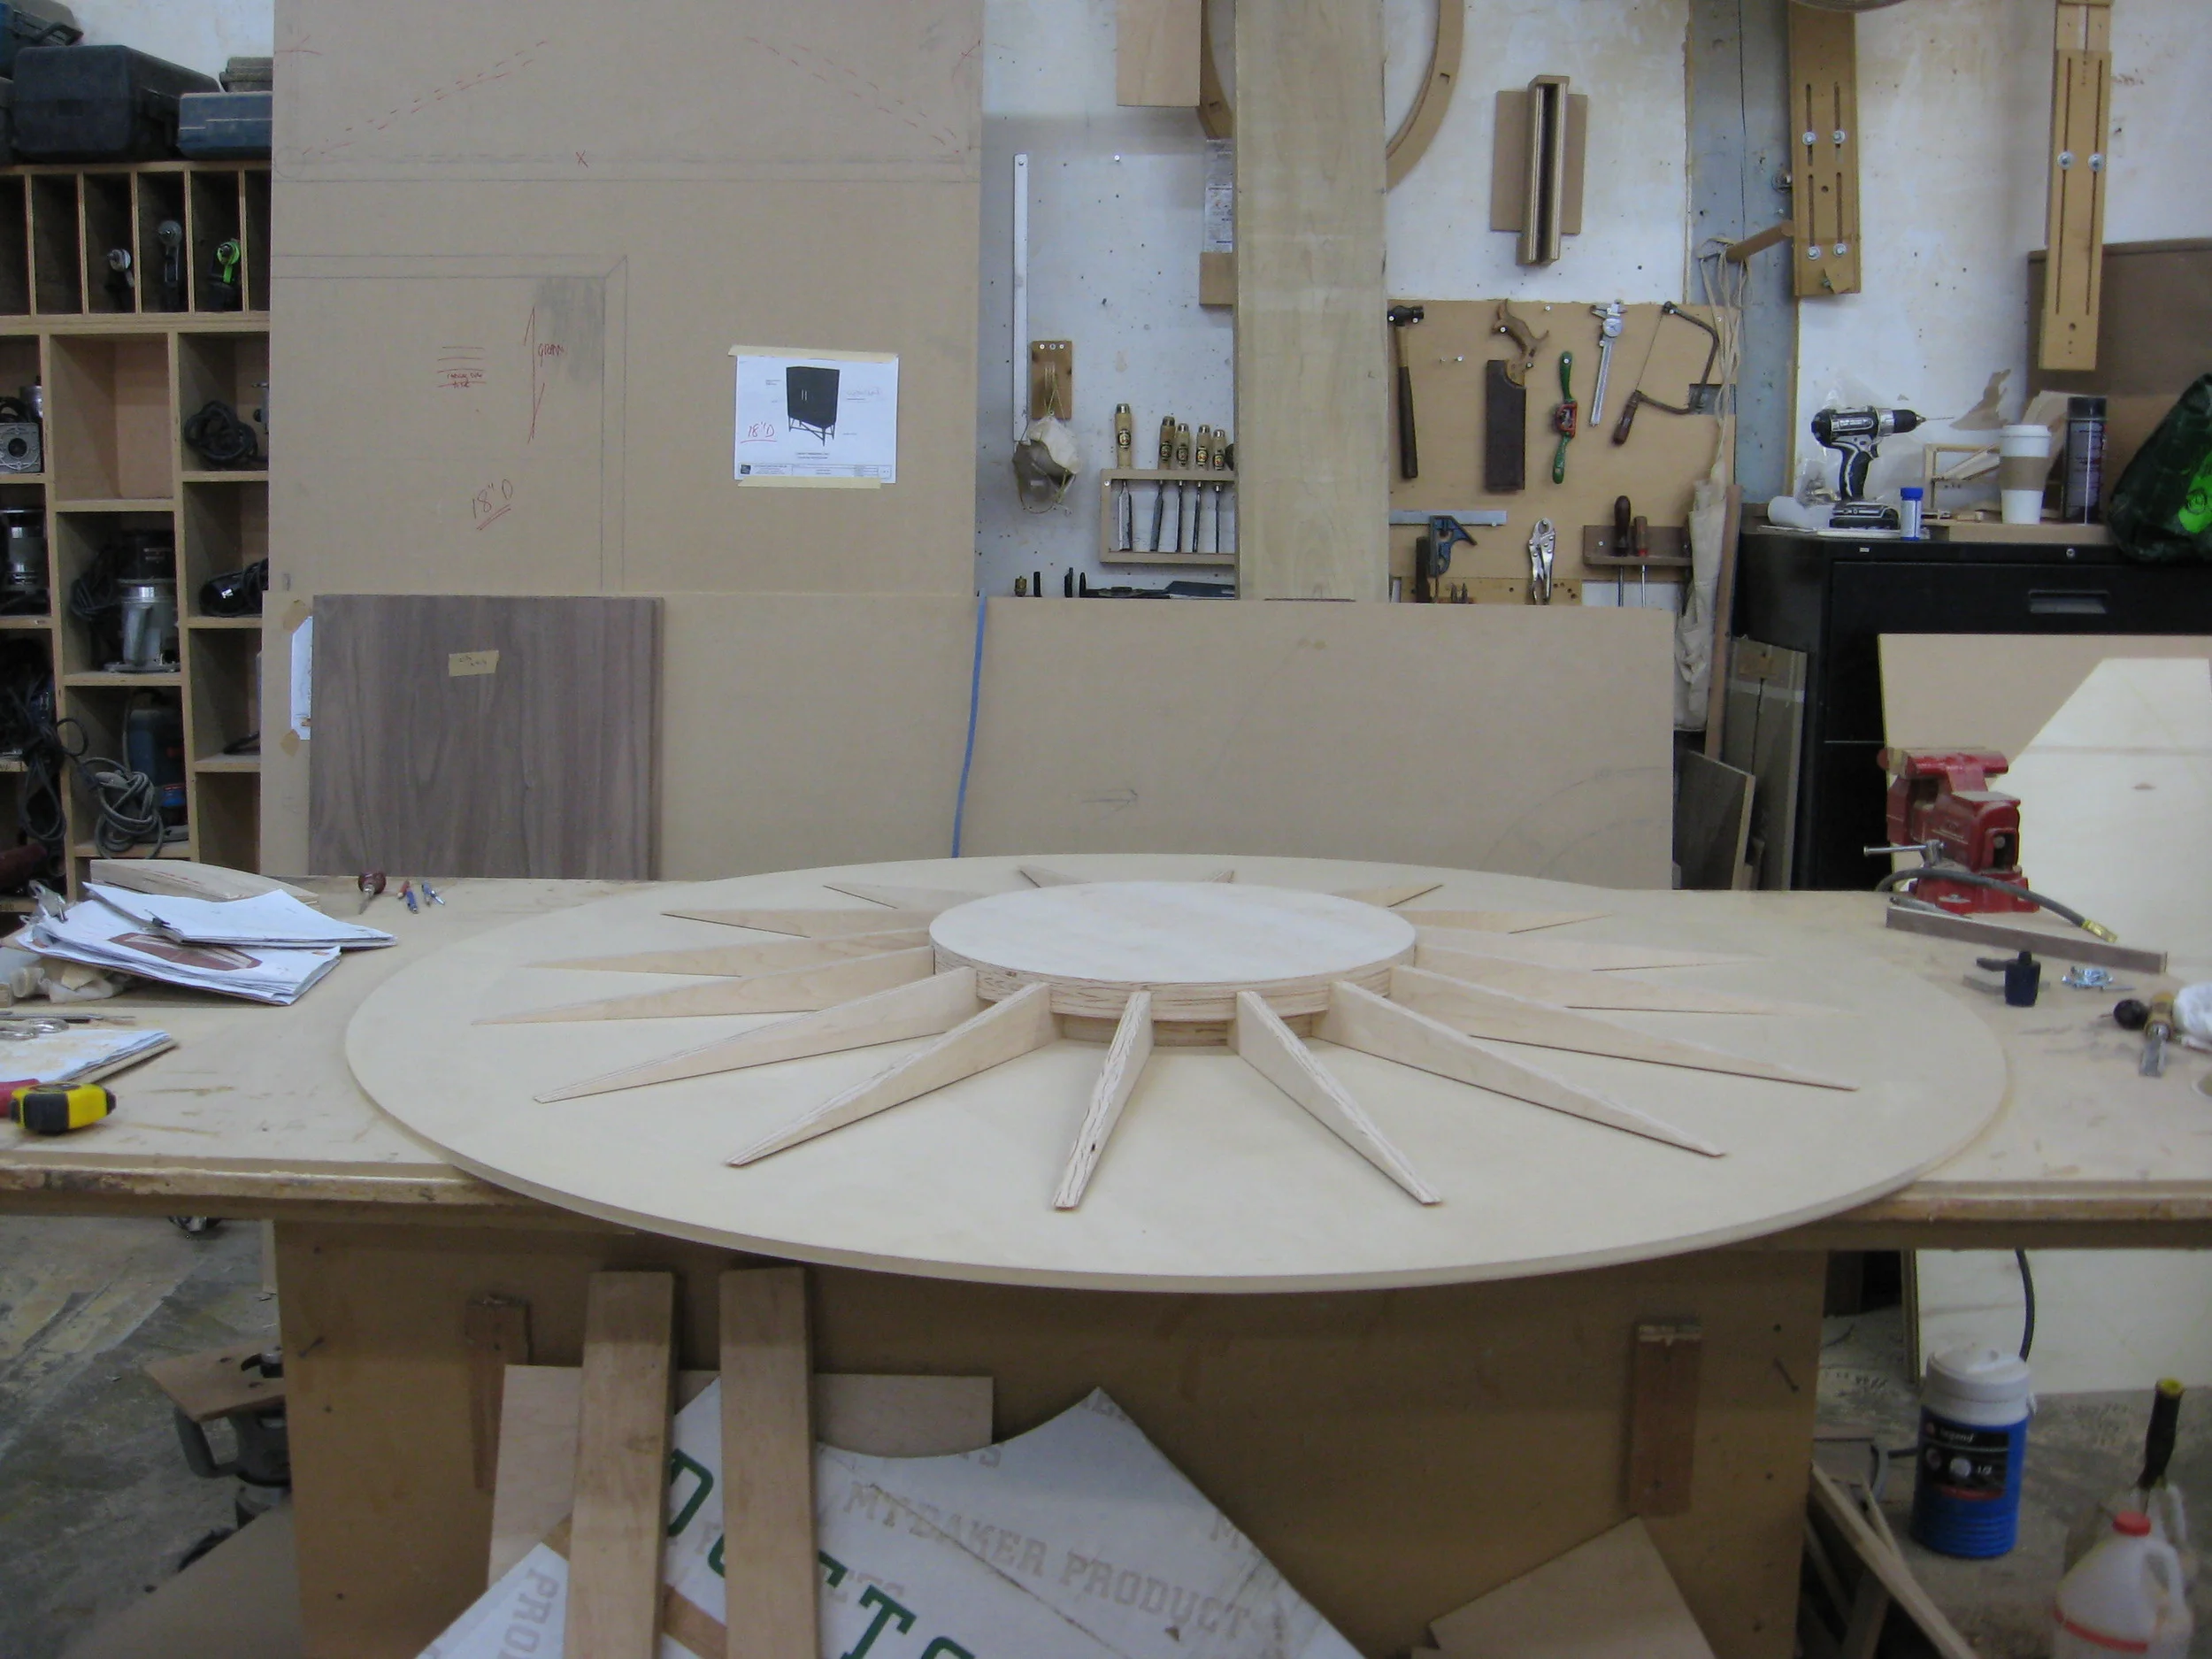
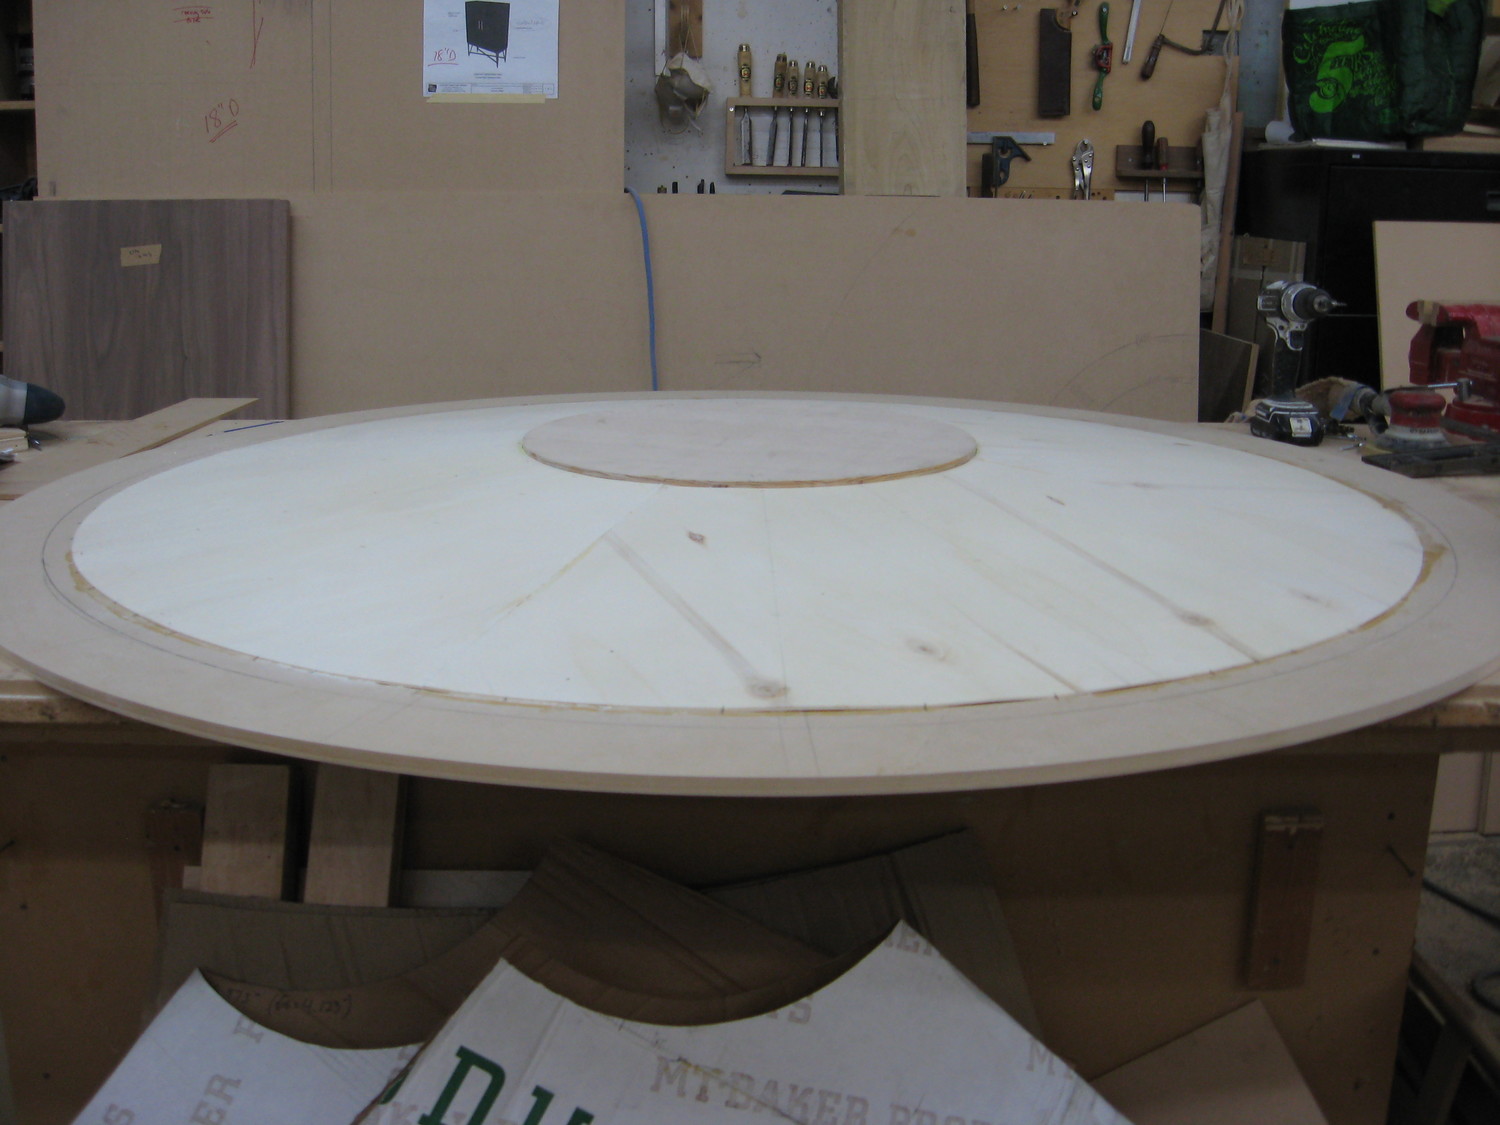
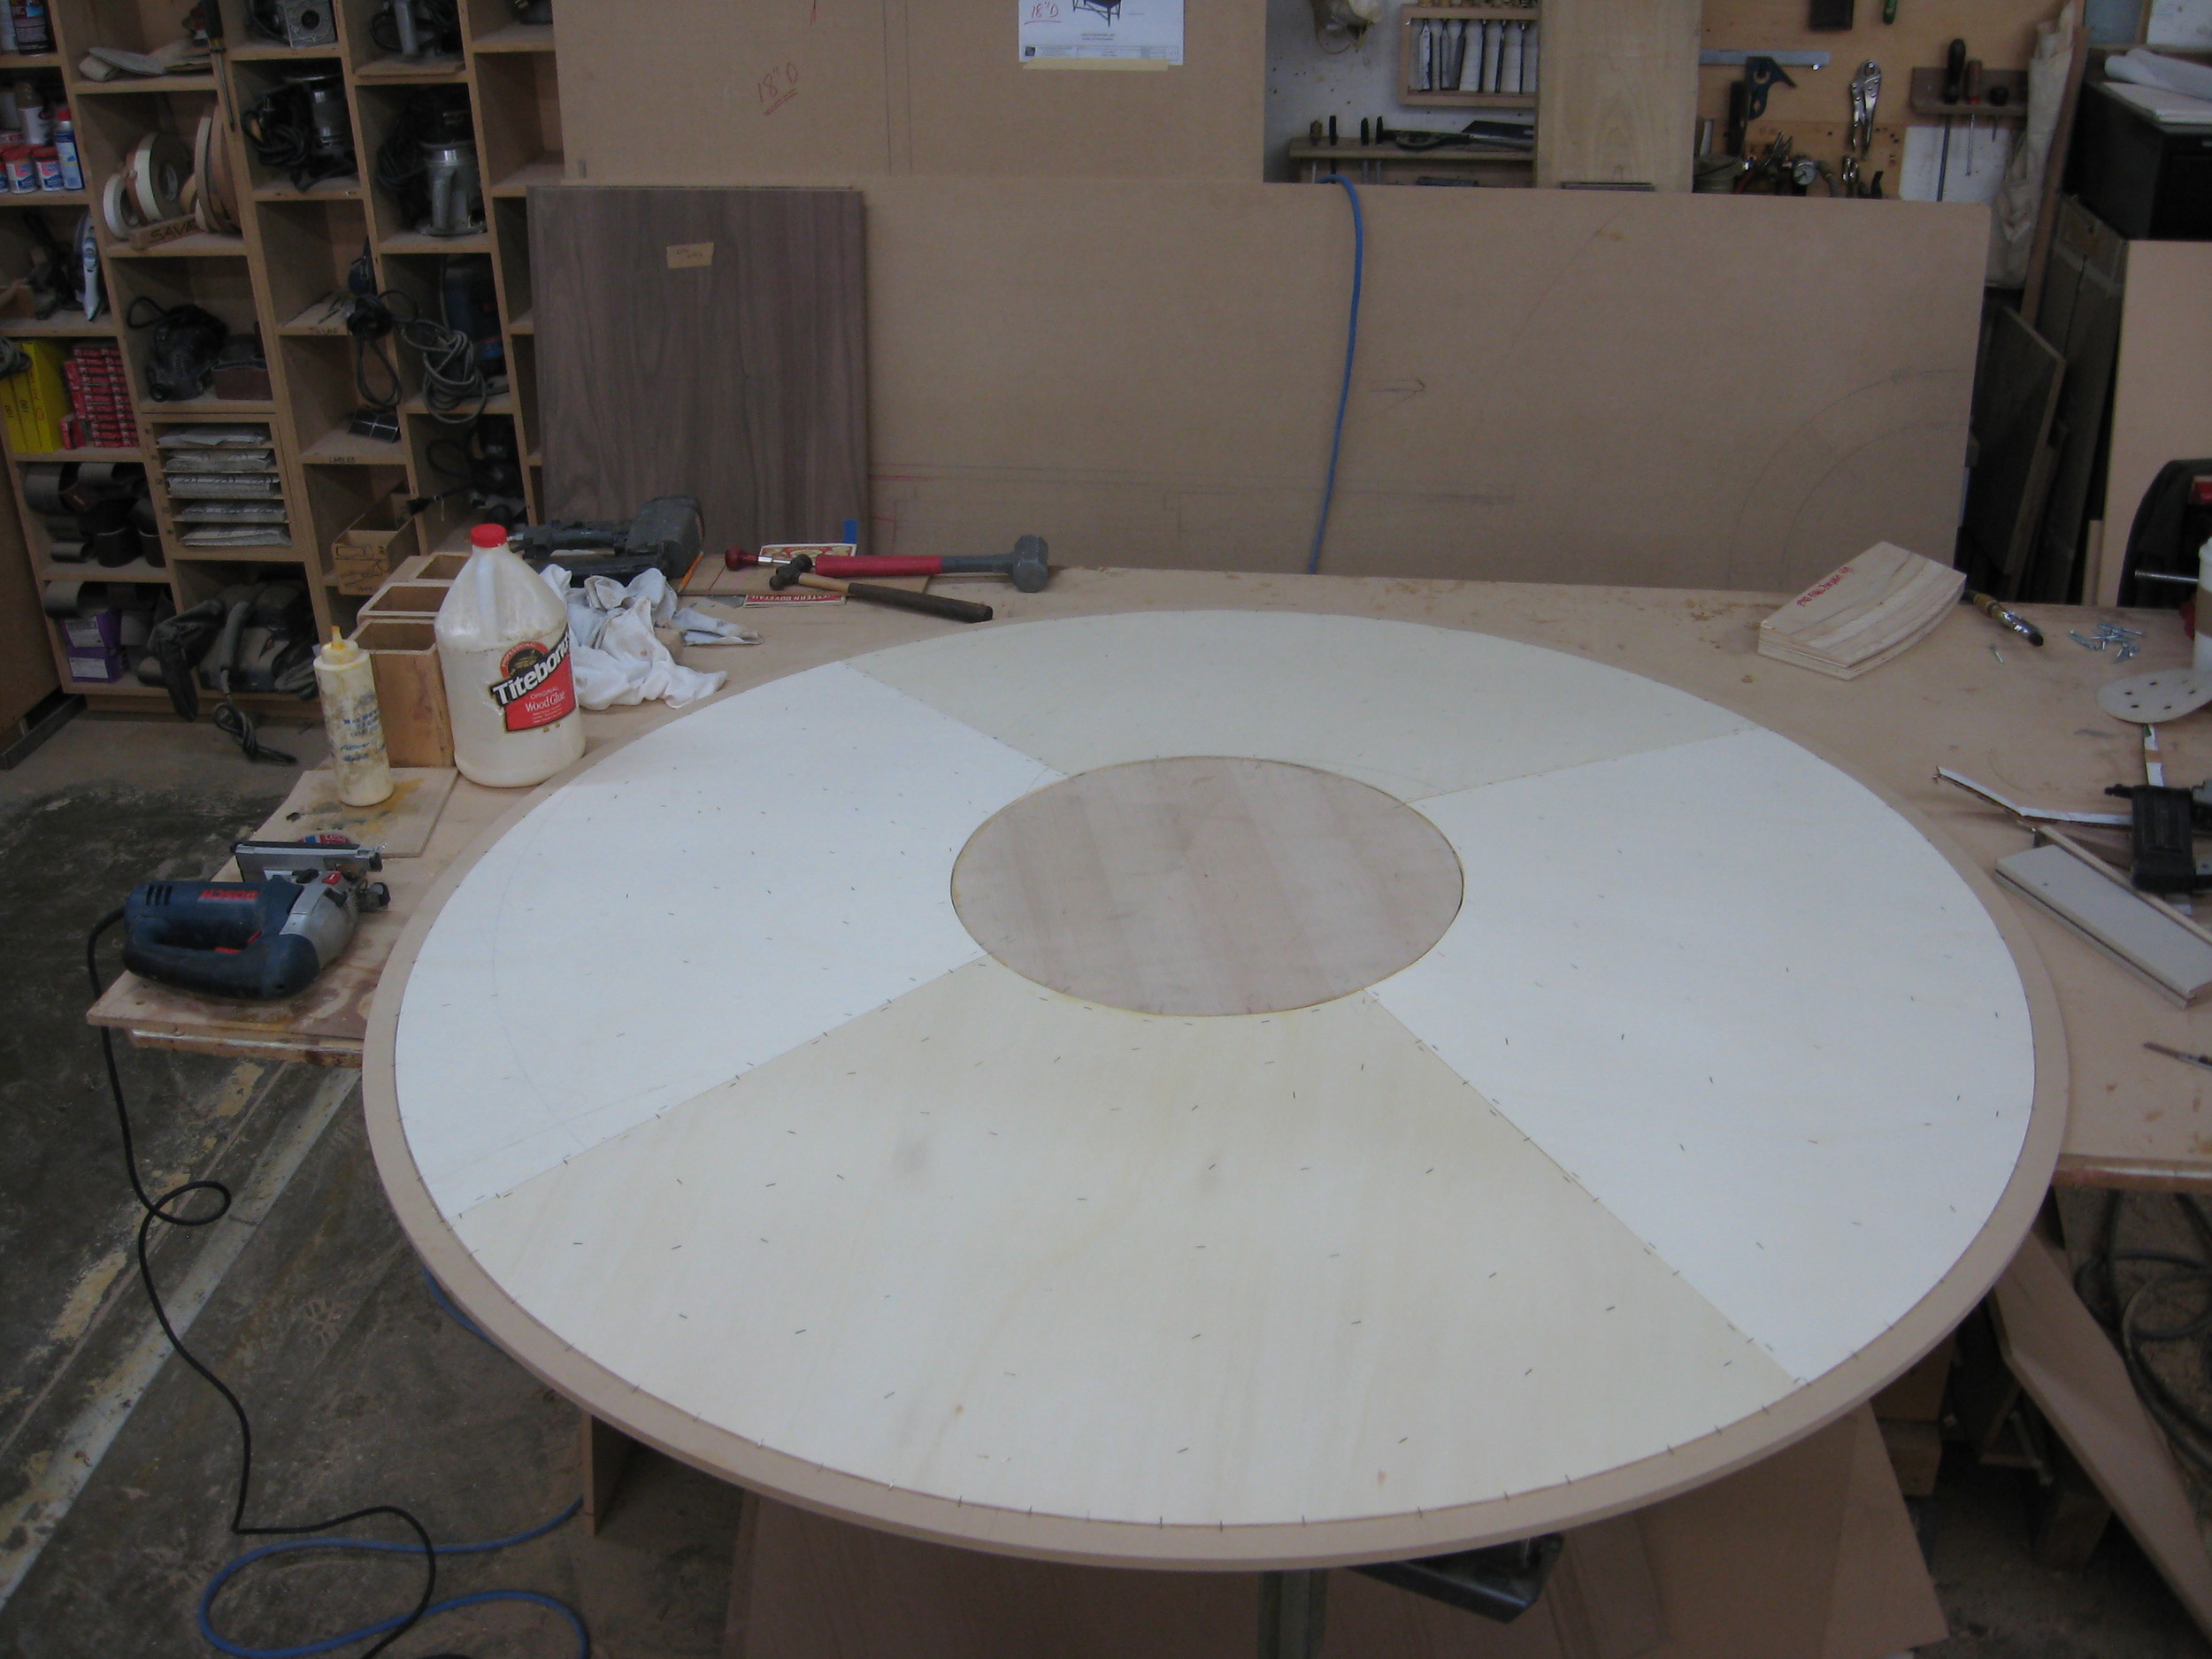
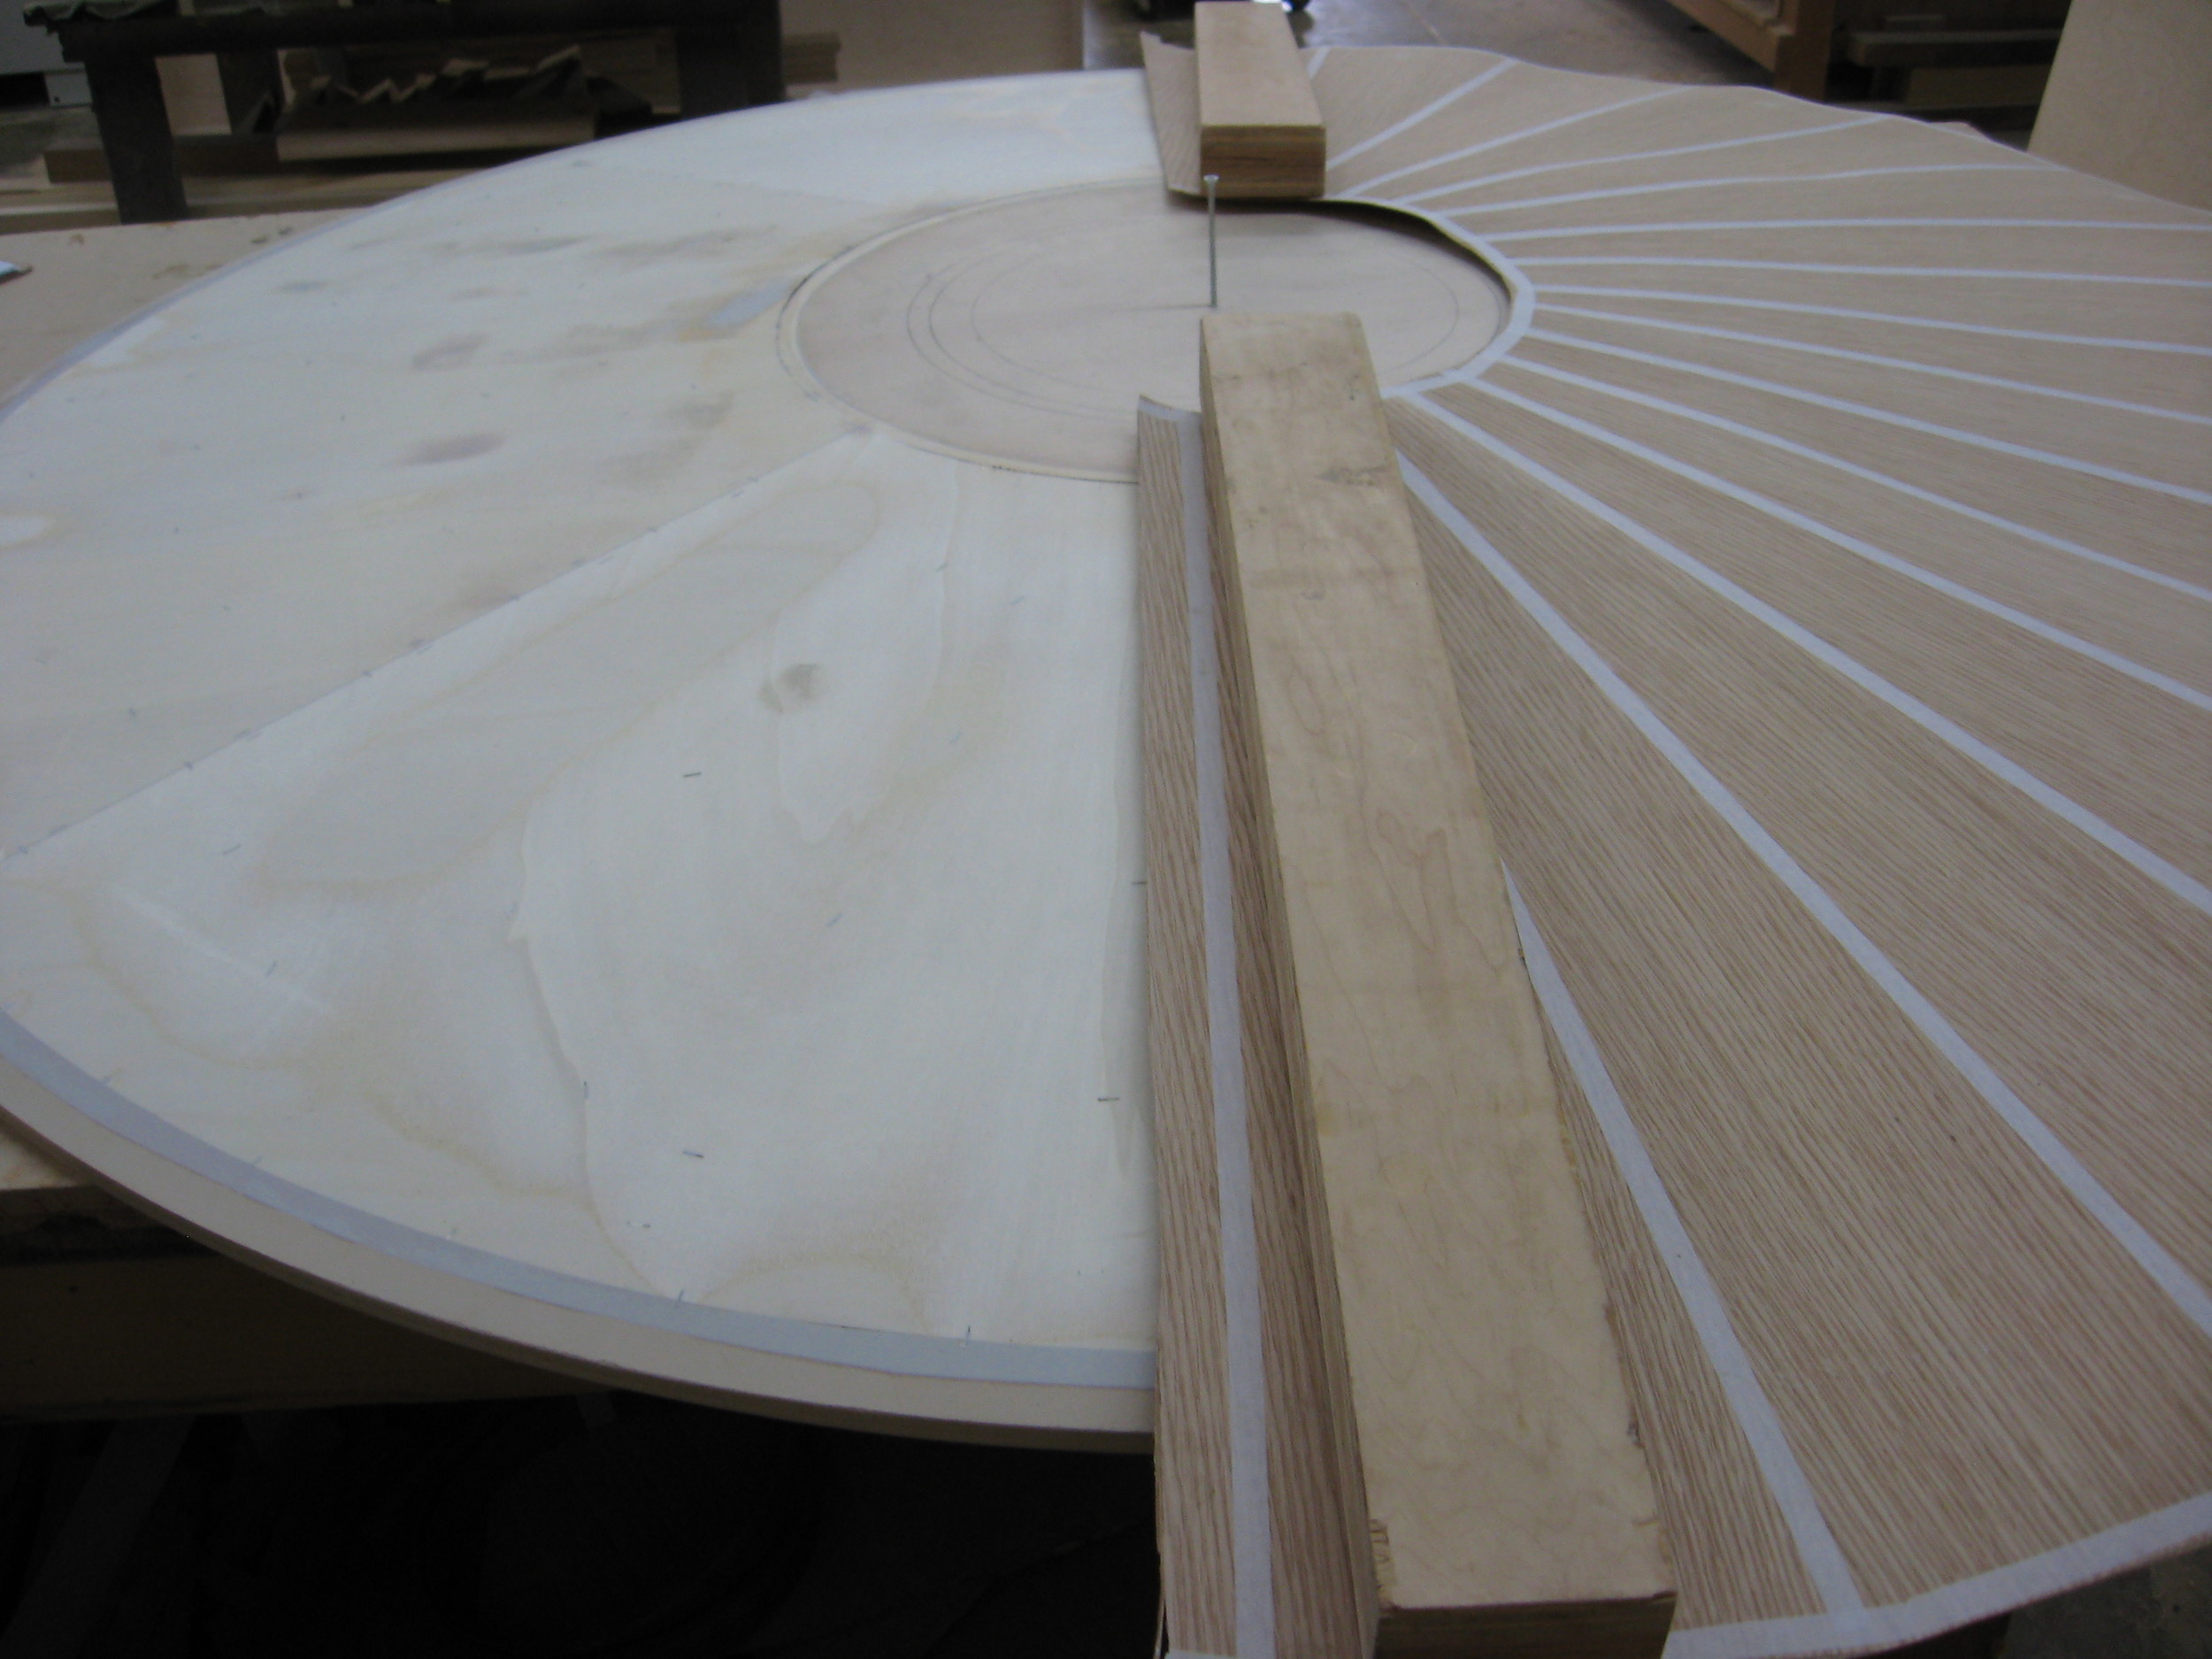
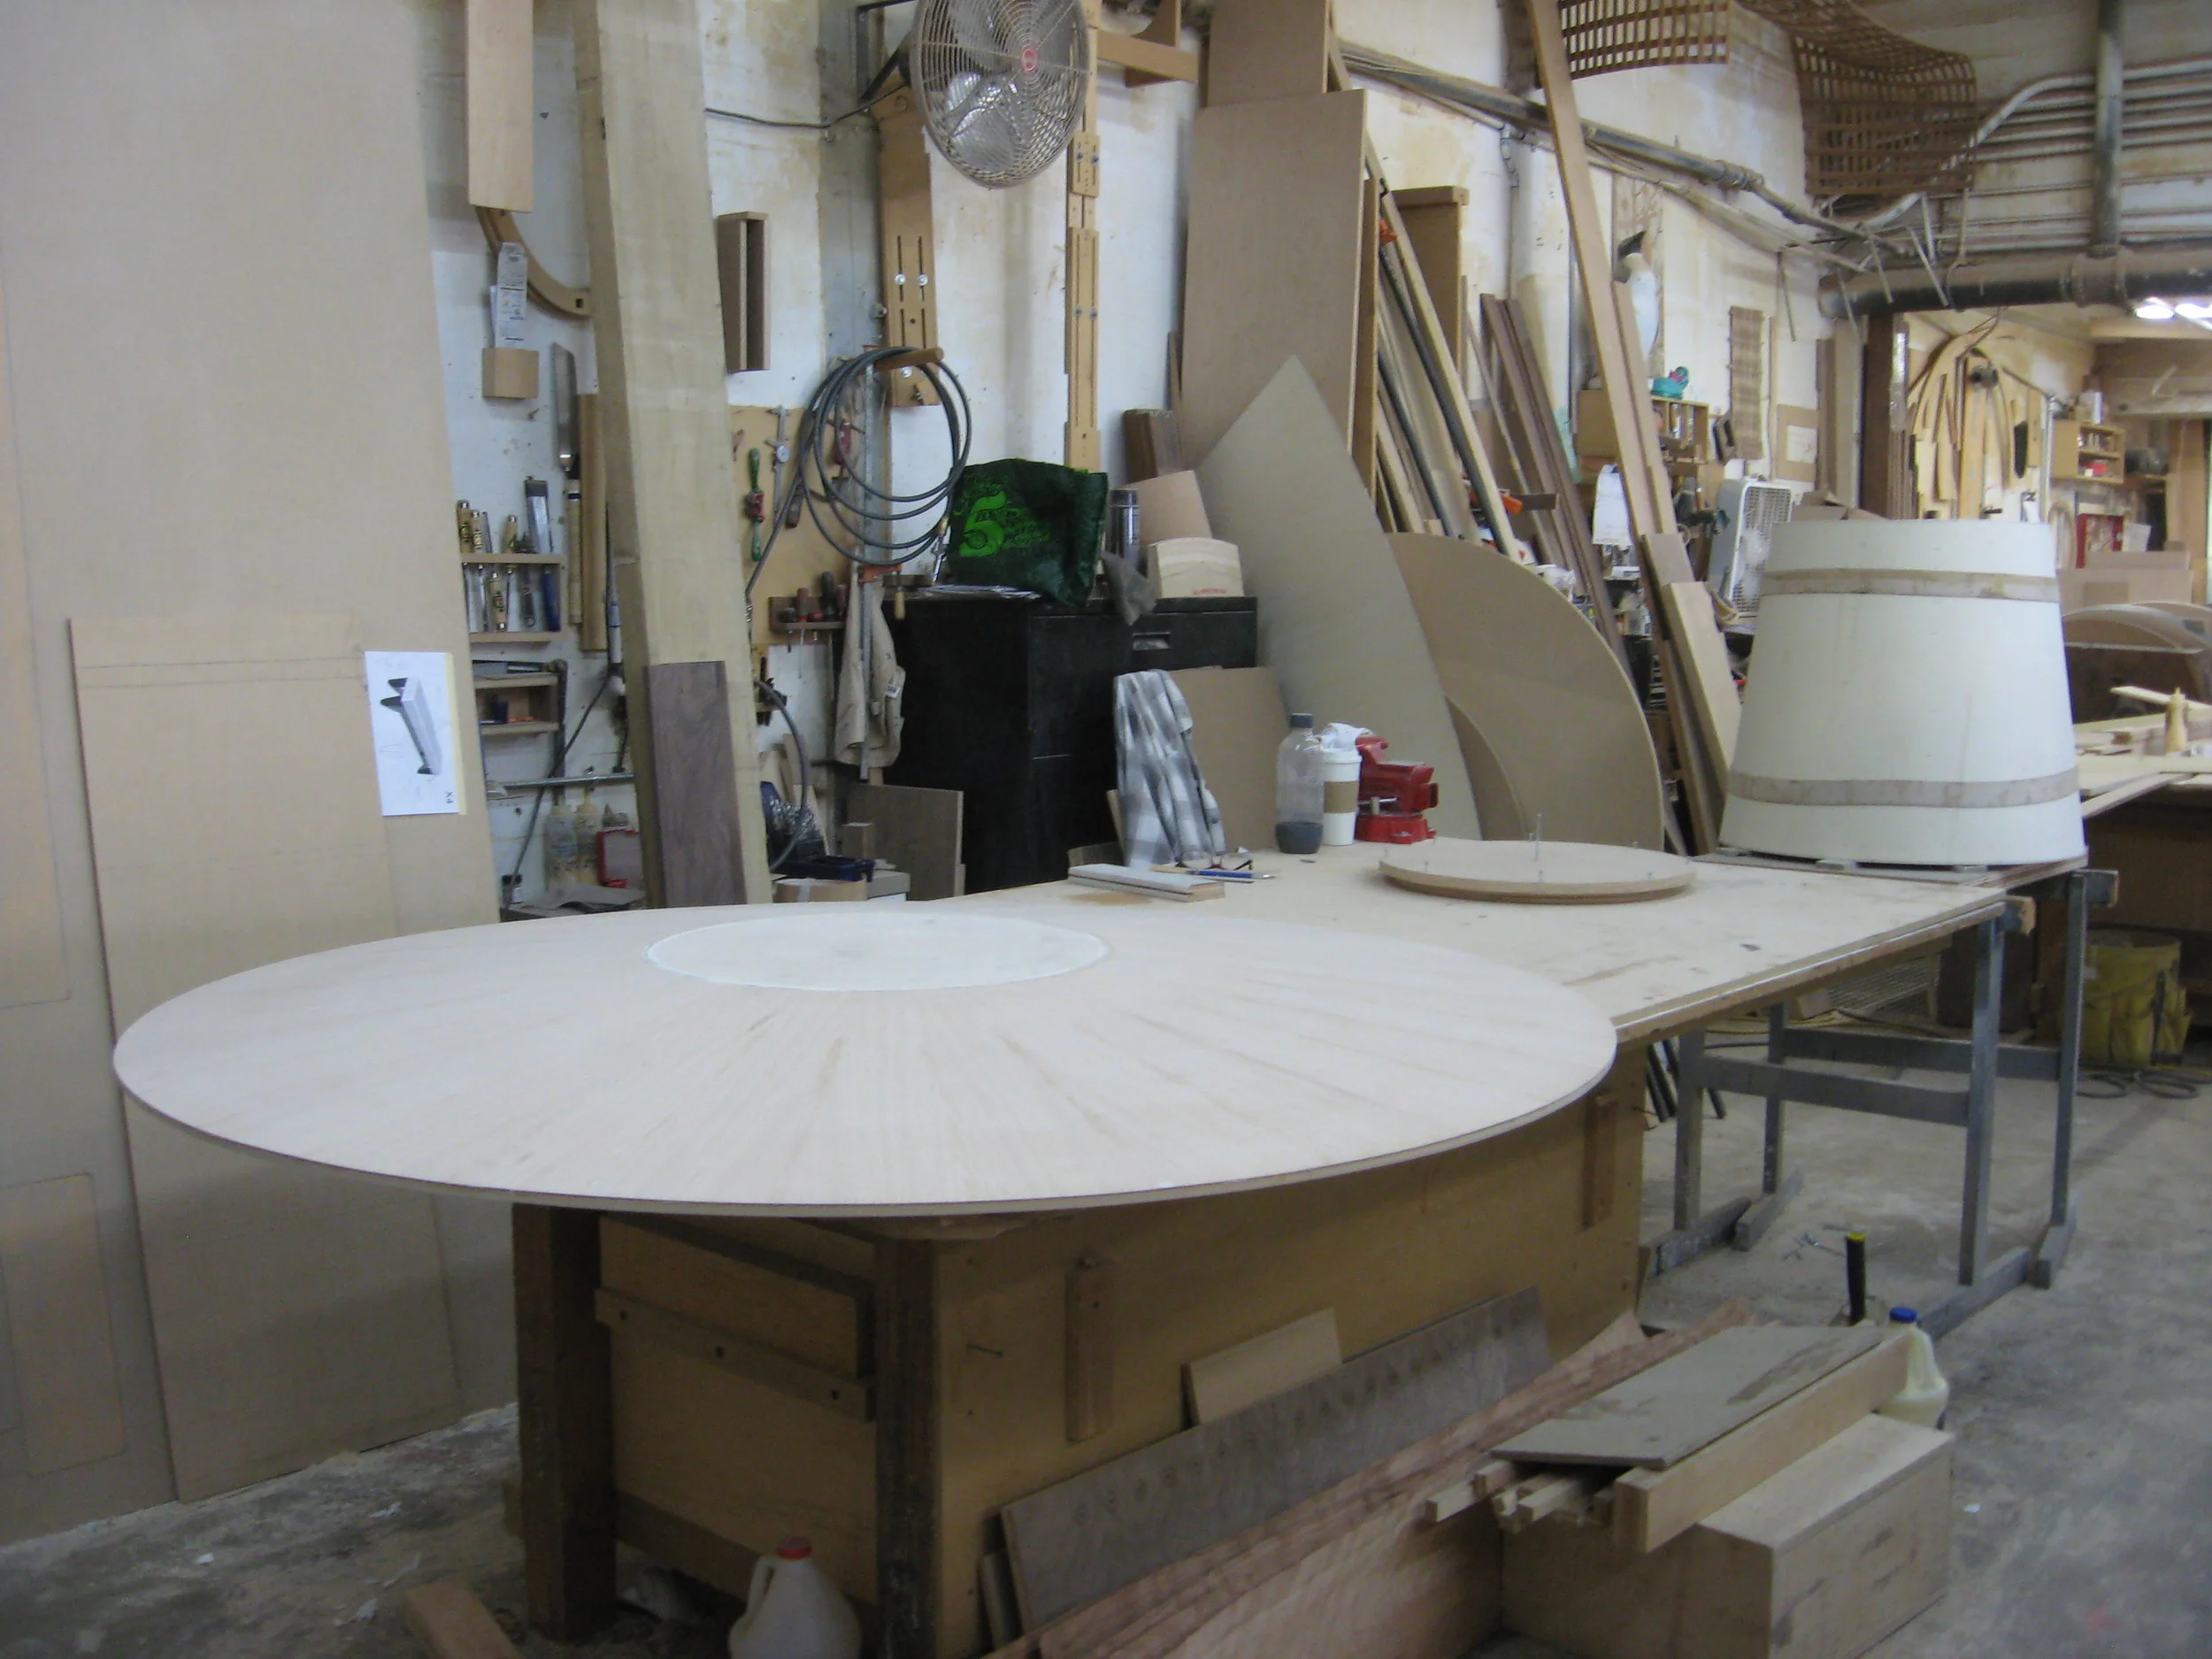
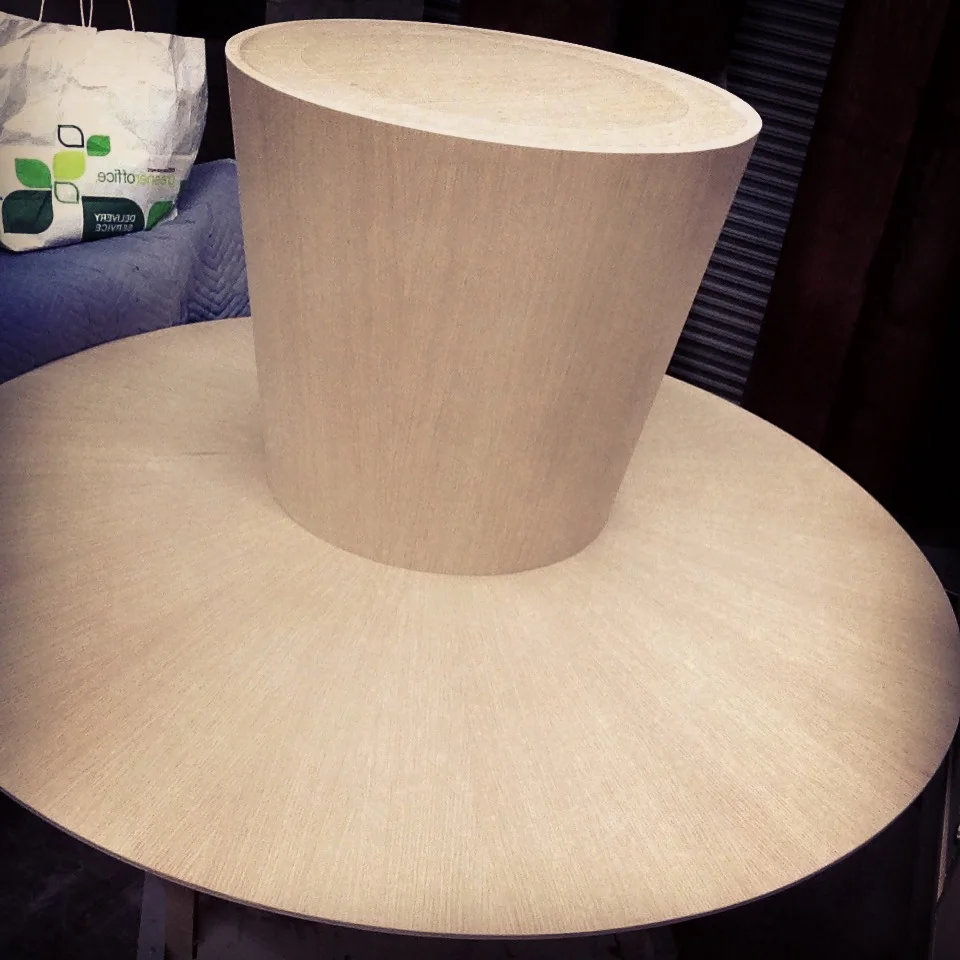
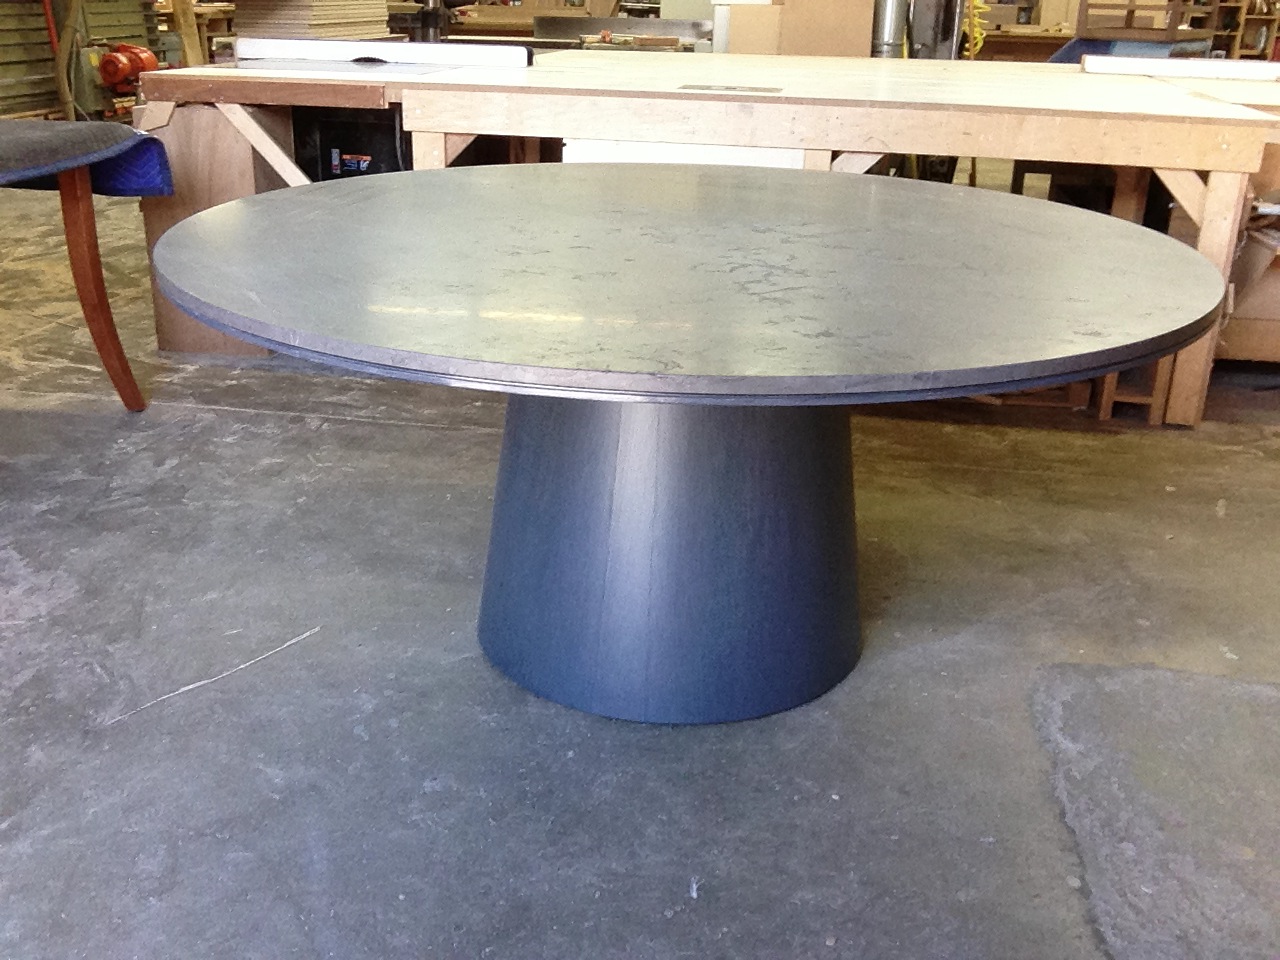
A "frustum," it turns out, is a truncated pyramid or cone, which is the shape of the two parts that make up this table. "Hourglass table" probably makes more sense but I can't resist such a specific word. Both frusta are made of a plywood skeleton skinned with several layers of 1/8" balsa ply, and veneered in rift sawn white oak.